Your point-of-sale software ecosystem for restaurants
A fast food restaurant that's thriving? A restaurant that's running smoothly?
How about becoming a reseller?
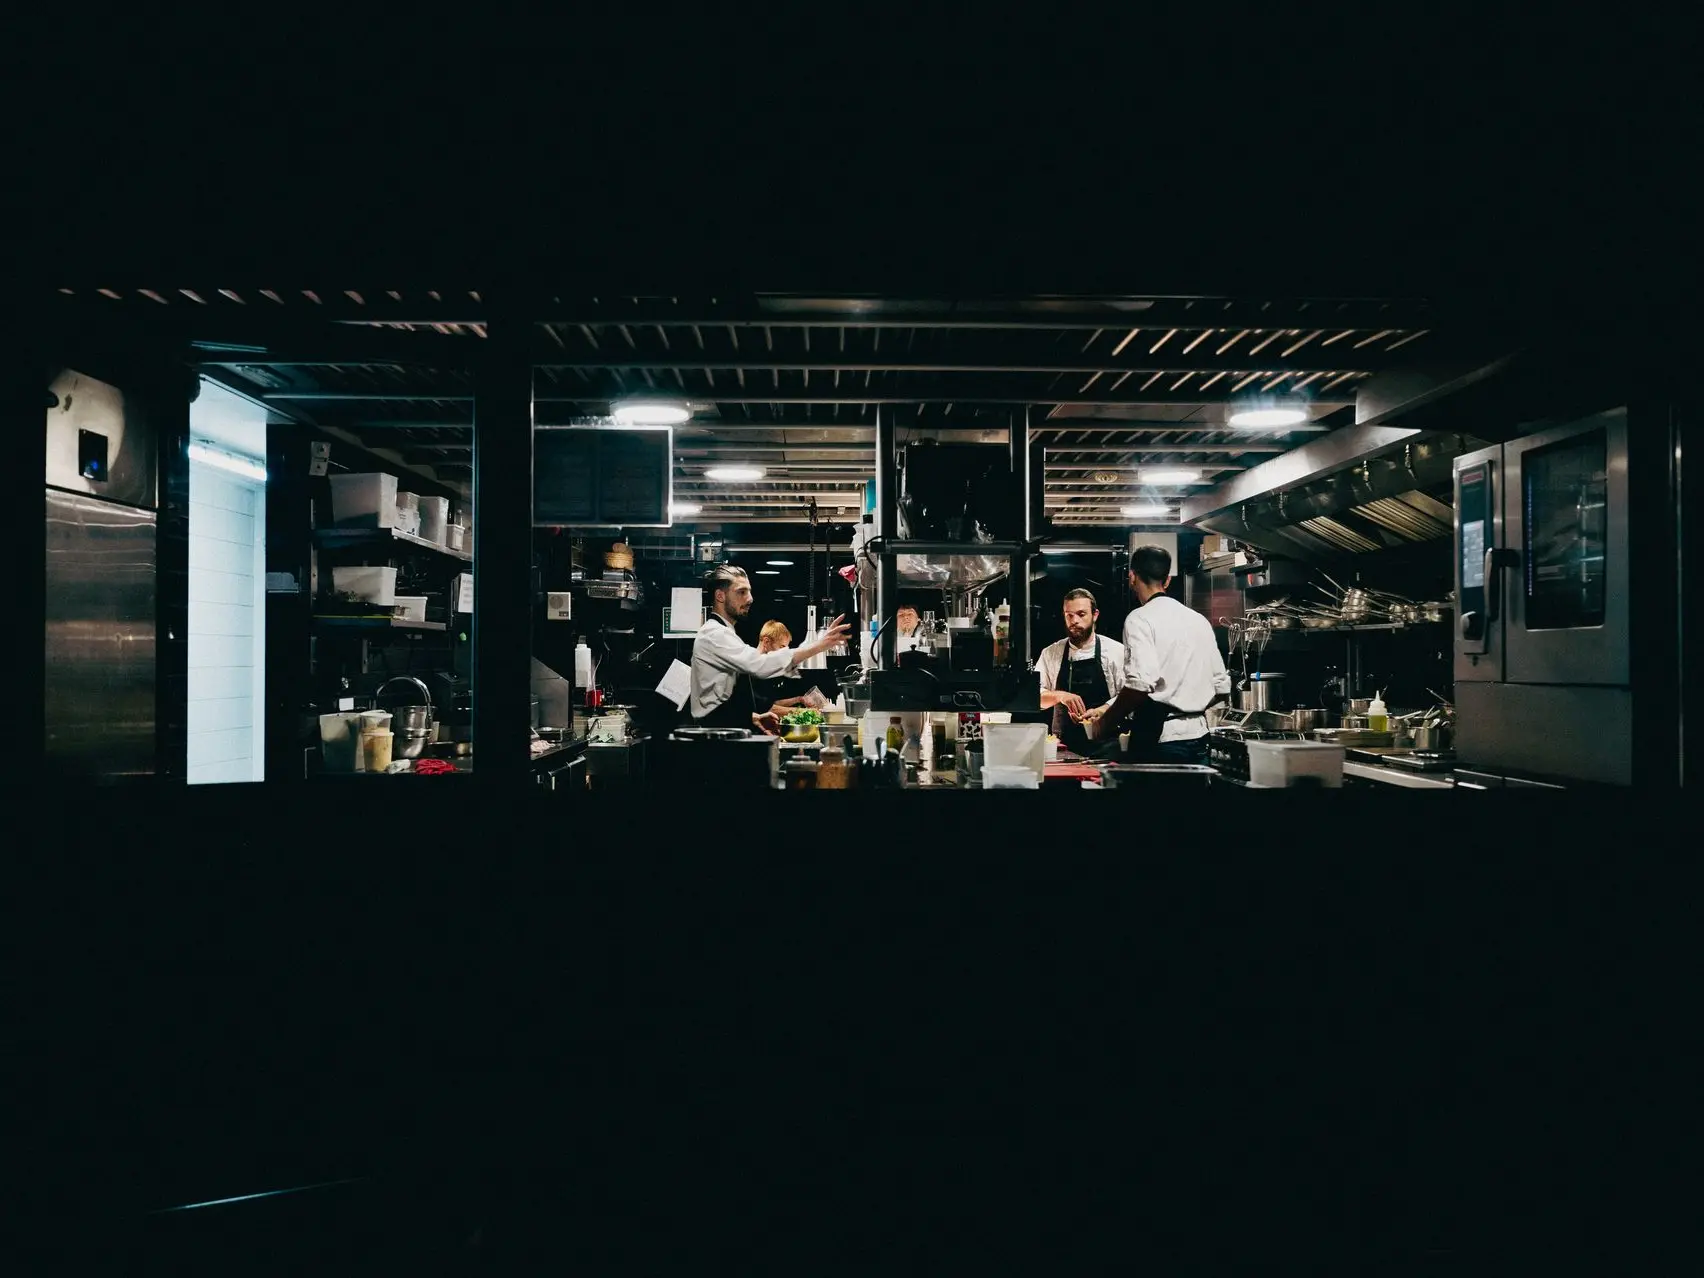
Running a restaurant is intense.
Forget outdated systems: with tables to manage, kitchen tickets piling up, demanding customers, and a glass that just shattered, you need things to flow smoothly. A powerful ecosystem of solutions built around your point-of-sale system is the foundation for running your restaurant like a well-oiled machine.
With Restomax, rely on a tailored, ultra-efficient tool that helps you manage everything… and finally catch your breath.
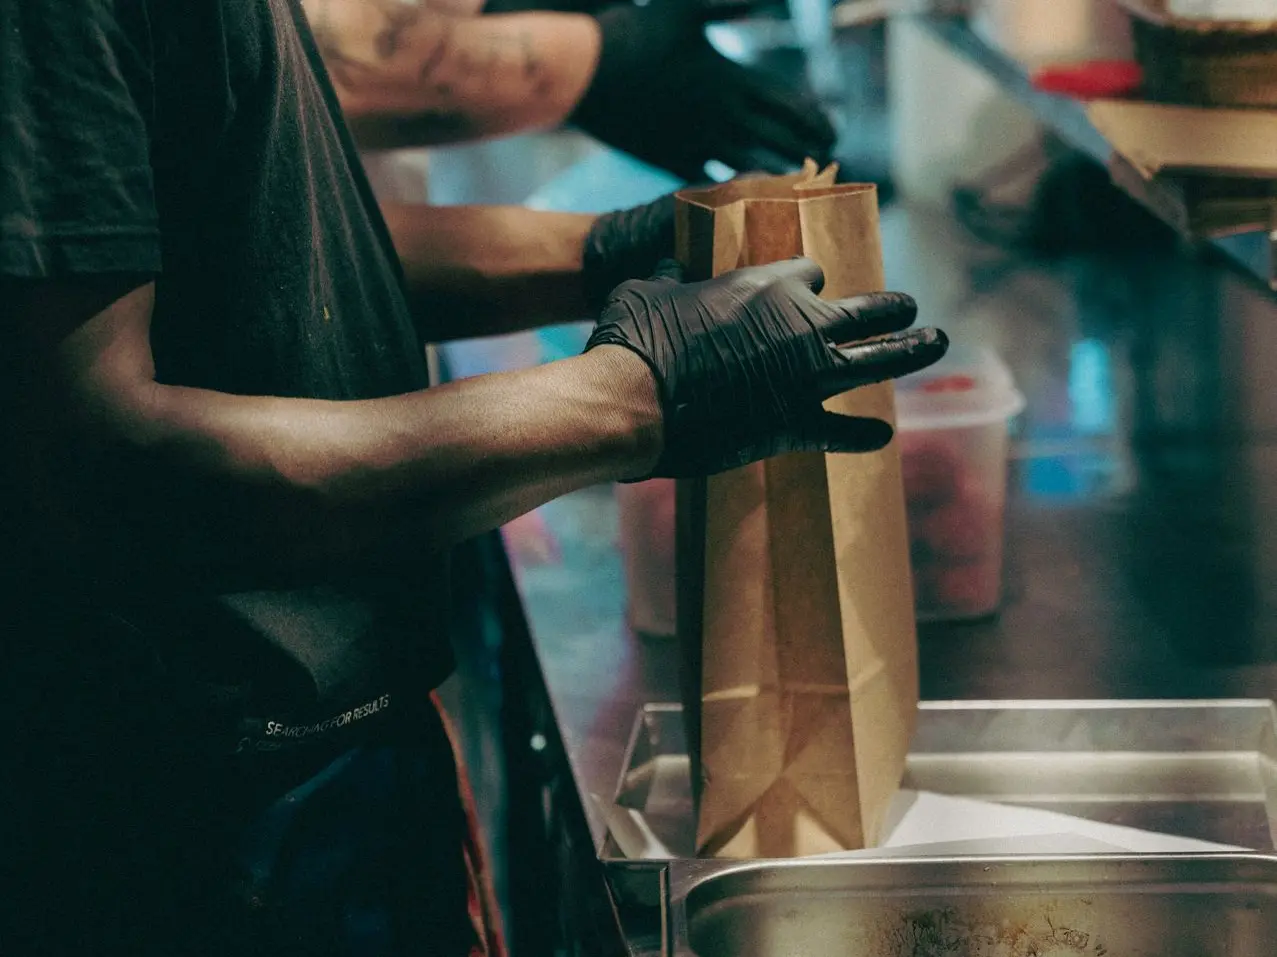
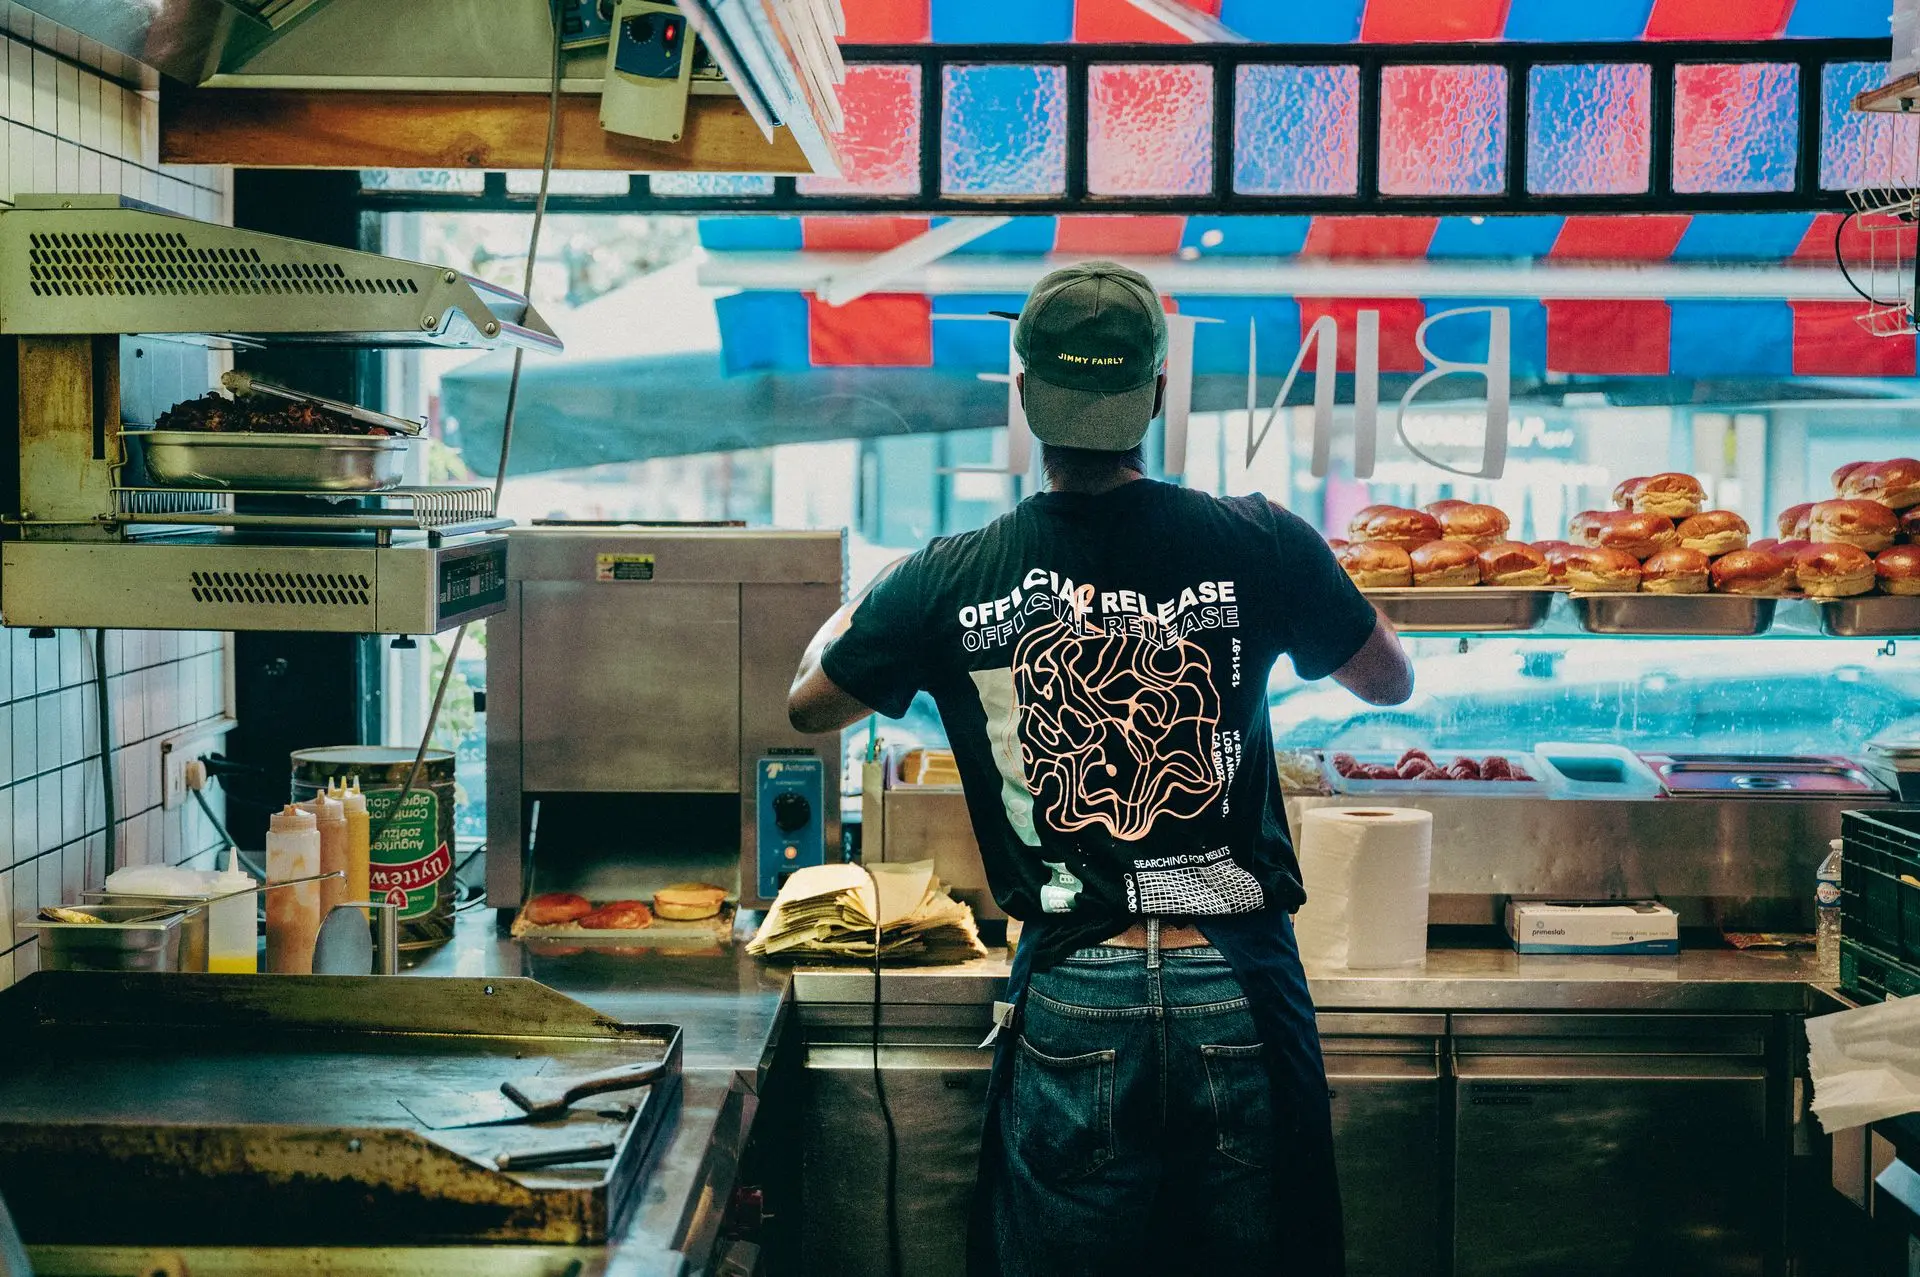
Running a QSR or food-truck is a real workout.
Between the queues getting longer, the constant flow of orders, the missing sauce, the delivery driver to handle, payment issues, and keeping a smile on your face — your shifts are full-on.
What if a tailored POS ecosystem could help you manage it all… and finally catch your breath?
Becoming a partner is easy.
Want to join a dynamic network that’s close to restaurateurs and full of ambition?
We’ve got your back with a solid programme, practical tools, and real on-the-ground support.
The favourite POS system
of thriving restaurateurs
Show me a demo or discover the features
The favourite POS system
of thriving restaurateurs
RESTOMAX already supports thousands of establishments. You're in good hands.
It's no coincidence. No Boring Orders means innovating with you and for you.


We make your life easier, from installation to payment.
More than just a till — it’s a complete order management system designed for the hospitality industry, by the hospitality industry, to centralise and simplify your operations based on your needs.


We make your life easier, from installation to payment.
More than just a till — it’s a complete order management system designed for the hospitality industry, by the hospitality industry, to centralise and simplify your operations based on your needs.
We make your life easier, from installation to payment.
More than just a till — it’s a complete order management system designed for the hospitality industry, by the hospitality industry, to centralise and simplify your operations based on your needs.
The complete RESTOMAX ecosystem
Table service, counter service or delivery — our ecosystem centralises all your operations.
All your teams are connected, automatically and digitally.
It’s efficient. It’s fast. It runs. Seamlessly.

 Book
Book Caisse
 QR Code
 Pocket / PAD
 Backoffice
 Borne
Borne Kitchen Display
 Écran appel
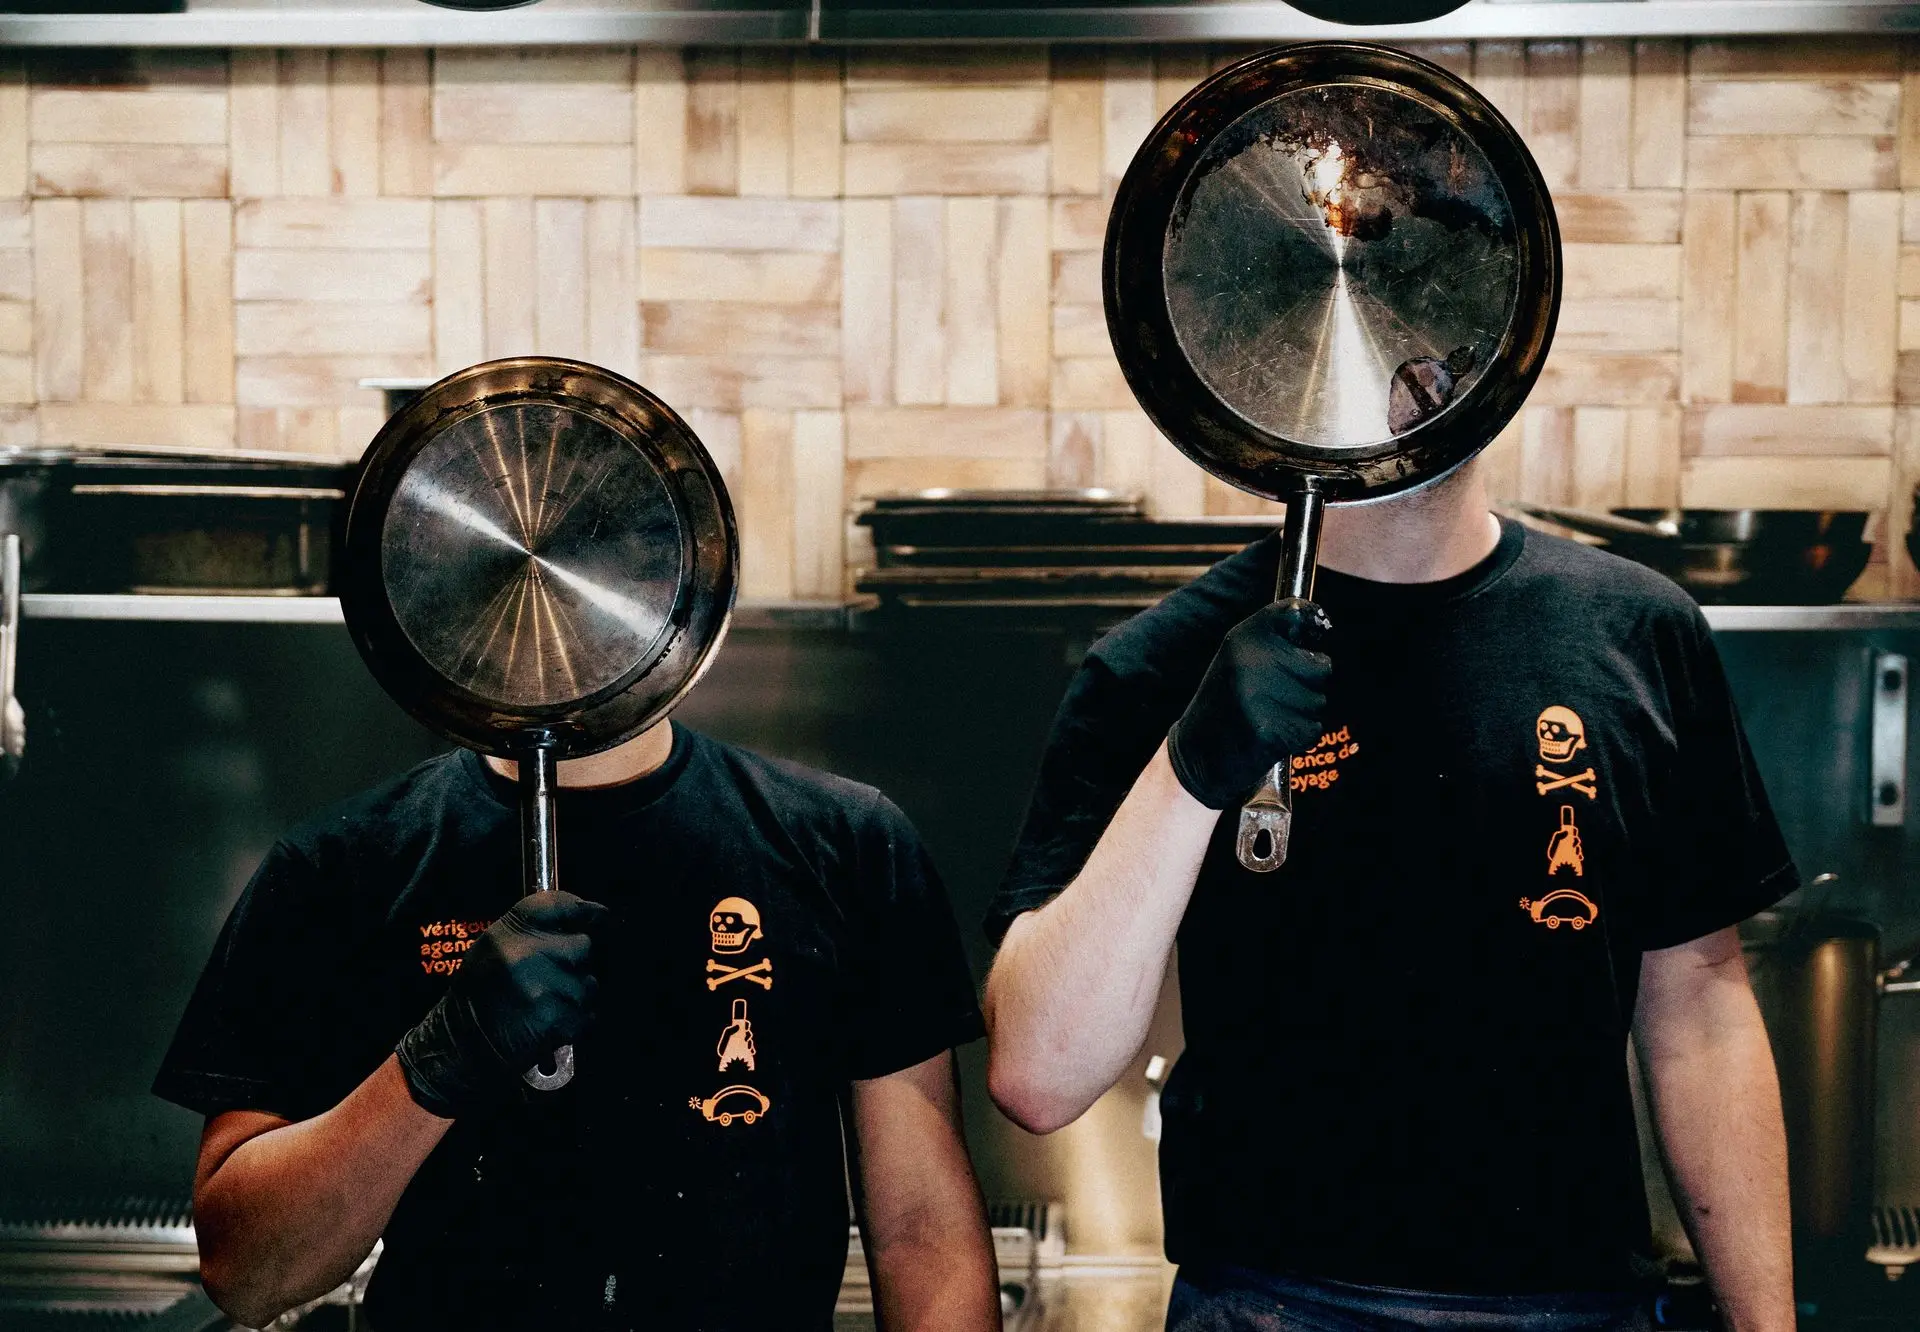
No problems, only solutions!
To speed up installations, cut costs, and simplify the management of your establishment — in Belgium and Europe, there’s Restomax.
Whatever your business
Restaurant, fast food, brasserie, bar, pizzeria, bakery, caterer, food truck, dark kitchen... In short, you feed, refresh and pamper your customers! We are here for you, with exactly what you need!
Our impact, their words
They use Restomax every day. Here's what they think.
"C’est un très bon produit qui change mon quotidien de restaurateur. Le support technique et téléphonique est excellent. Je recommande donc totalement cette solution de caisse. "
 Salvatore Varsalona
"Une App très ludique et une valeur ajoutée absolue pour nos clients. L’équipe est attentive, compétente, engagée et proactive pour nous faire avancer. Je suis très satisfait et je recommande ce programme à tous les acteurs du secteur ! "
 Rachid Mallem
"Une solution moderne et facile d’utilisation, une équipe sympa qui s’adapte, qui écoute, qui est là quand on a besoin d’elle. "
Geoffroy Timmermans
"Un déploiement au top sur toutes nos friteries, une adaptation à chacune des configurations de nos lieux. Un gestion centralisée qui nous donne une belle vue sur notre business. Nos équipes heureuses et plus efficaces."
"C’est un très bon produit qui change mon quotidien de restaurateur. Le support technique et téléphonique est excellent. Je recommande donc totalement cette solution de caisse. "
Salvatore Varsalona
"Une App très ludique et une valeur ajoutée absolue pour nos clients. L’équipe est attentive, compétente, engagée et proactive pour nous faire avancer. Je suis très satisfait et je recommande ce programme à tous les acteurs du secteur ! "
Rachid Mallem
"Une solution moderne et facile d’utilisation, une équipe sympa qui s’adapte, qui écoute, qui est là quand on a besoin d’elle. "
Geoffroy Timmermans
"Un déploiement au top sur toutes nos friteries, une adaptation à chacune des configurations de nos lieux. Un gestion centralisée qui nous donne une belle vue sur notre business. Nos équipes heureuses et plus efficaces."
Our impact, their words
They use Restomax every day. Here's what they think.
"It’s a great product that has completely changed my daily life as a restaurant owner. The technical and phone support is excellent. I highly recommend this cash register solution."
Salvatore Varsalona
"A very fun and user-friendly app that brings real added value for our customers. The team is attentive, skilled, committed, and proactive to help us move forward. I’m extremely satisfied and recommend this program to everyone in the industry!"
Rachid Mallem
"A modern and easy-to-use solution, with a friendly team that adapts, listens, and is there whenever we need them."
Geoffroy Timmermans
"An outstanding deployment across all our fry shops, with a tailored approach to the specific needs of each location. Centralized management gives us great visibility on our business. Our teams are happier and more efficient."
Our impact, their words
They use Restomax every day. Here's what they think.
"Dit is een geweldig product dat mijn dagelijkse leven als restauranthouder echt heeft veranderd. De technische en telefonische ondersteuning is uitstekend. Ik raad deze kassasysteem-oplossing absoluut aan!"
Salvatore Varsalona
"Een zeer gebruiksvriendelijke en leuke app die echte meerwaarde biedt voor onze klanten. Het team is attent, deskundig, toegewijd en proactief om ons verder te helpen. Ik ben heel tevreden en raad dit programma aan iedereen in de sector aan!"
Rachid Mallem
"Een moderne en eenvoudige oplossing, met een vriendelijk team dat zich aanpast, luistert en er is wanneer je hen nodig hebt."
Geoffroy Timmermans
"Een top implementatie in al onze frituren, met een aanpak op maat van de specifieke noden van elke locatie. Dankzij het centrale beheer hebben we een perfect overzicht van ons bedrijf. Onze teams zijn gelukkiger en efficiënter."

A demo, some advice or a quote? Right this way!
Le premier pas vers une gestion plus fluide, plus rapide et plus rentable de votre établissement est à portée de clic. Pourquoi attendre ?
A demo, some advice or a quote? Right this way!
The first step towards smoother, faster, and more profitable management of your establishment is just a click away. Why wait ?